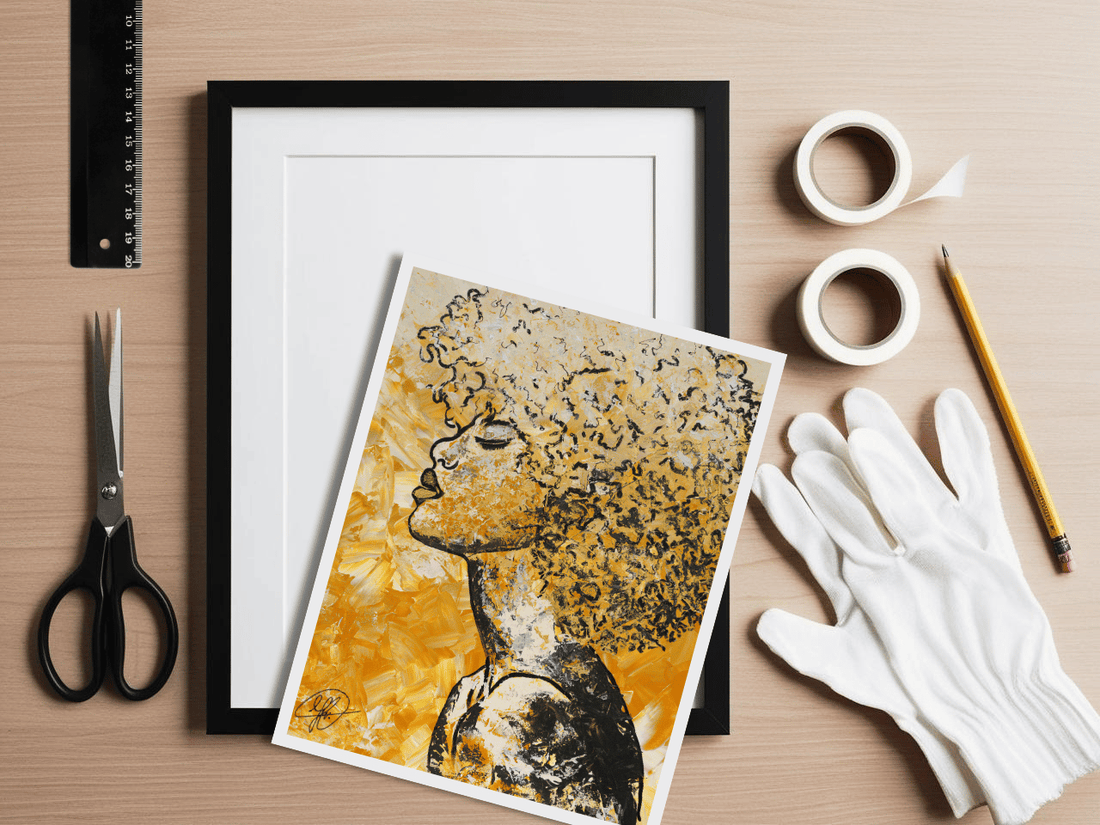
How to frame your print perfectly – A step-by-step guide
Have you purchased a beautiful print and want to frame it perfectly?
In this blog, you'll discover how to frame your artwork easily and dust-free, ensuring it fits snugly and straight in the frame. Whether you choose to use a mat board or frame it directly, follow these steps to enjoy your perfect print on the wall.
What do you need to frame your print?
To get started, gather the following items:
- A frame (such as IKEA RIBBA, HOVSTA, or LOMVIKEN)
- Your print (with an additional white border)
- Acid-free tape or photo tape
- A microfiber cloth or Swiffer
- A ruler
Step 1: Clean the glass of the frame
- Remove the backing and glass from the frame.
- Use a microfiber cloth to clean the glass, removing dust and smudges.
- Tip: Never use paper towels as they can scratch the glass.
Step 2: Work in a clean, dust-free environment
A dust-free workspace is essential. Work on a large, flat table and lay down a clean cloth to prevent scratches on your print.
Step 3: Position your print in the frame
Option 1: Framing without a mat
- Place the glass flat on the table.
- Carefully position the print on the glass, with the image side facing up.
- Use the extra white border to secure the print with acid-free tape.
Option 2: Framing with a mat
- Lay the mat over your print and align the image in the center.
- Secure the top of the print with small pieces of acid-free tape.
- Place the mat and print together in the frame.
Step 4: Ensure everything is straight
- Use a ruler to align the print perfectly in the frame.
- Lift the frame and check under good lighting to ensure everything is straight and centered.
Step 5: Carefully close the frame
- Replace the backing of the frame and secure the clips firmly.
- Turn the frame over and give the glass one final wipe with the microfiber cloth.
Why your print includes a white border
All prints come with an additional white border around the image to ensure that:
- The print is easier to secure in the frame.
- No part of the image is lost behind the edges of the frame.
- You have more flexibility when using a mat board.
Tips to keep your print looking great
- Avoid direct sunlight: UV rays can cause colors to fade.
- Clean sparingly: Use a microfiber cloth, dry cloth, or Swiffer to gently remove dust.
Your print perfectly framed
By following these steps, you'll frame your print quickly, easily, and dust-free. Always double-check the dimensions and proportions of your print on the product page to ensure you choose the correct frame size.
Got any questions? Feel free to send me a message—I’d be happy to help!
Tip: Check out my blog [“How to choose the right frame size for your print?”] for guidance on sizing and proportions.
